
Well as promised I am posting a tutorial using some kits I recently had on Create and Craft TV. They are from Sahlin Studios (I love them!) and obviously I am using Craft Artist 2 professional. Having said that I am hoping that my tutorials may inspire you to create with any of the digi kits you have, you don't have to use the content I have or indeed follow the design to the letter .... make it your own, after all that is what creativity is about right? Maybe you will be inspired to do a real life page too using my design for a scrap lift or combine the two and go hybrid.
This is the page I am going to put together for you

A perfect summer day
It uses mainly the Vintage Carnival digi kit from Sahlin studios and I think it is a great design for any perfect summer day you may have had, mine is with hubs at the Rewind 80's festival.
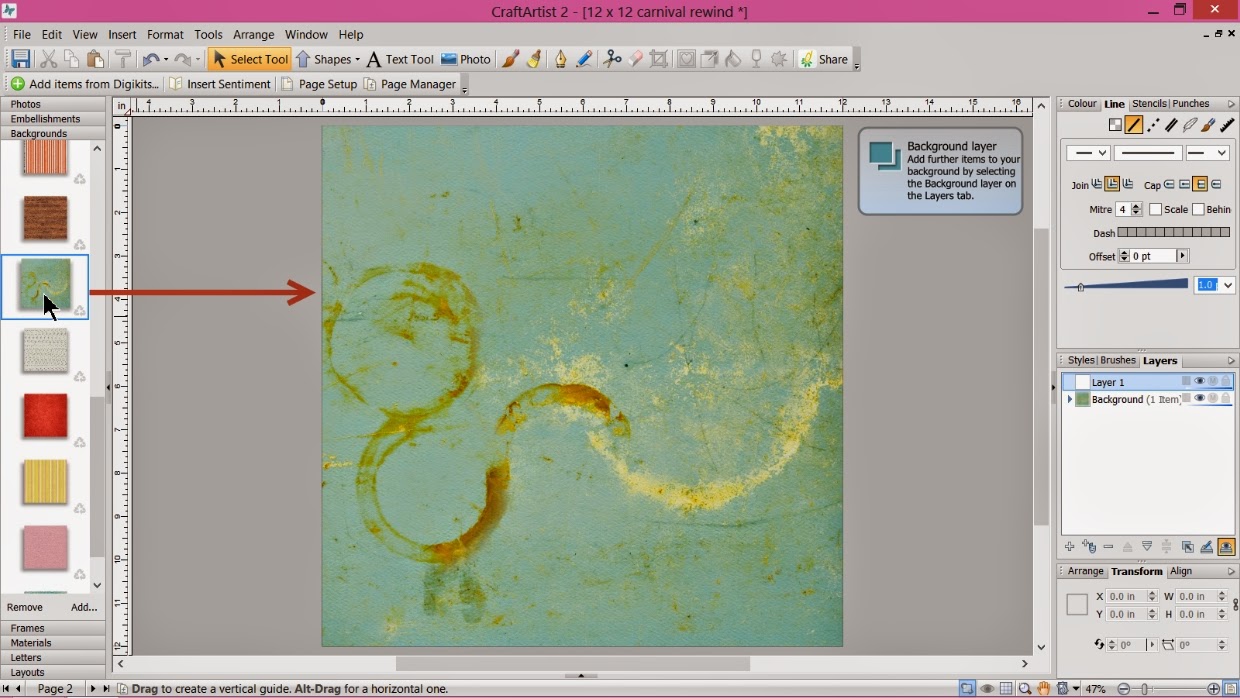
My page set up is 12 x 12 and I have added the Sahlin studios Vintage Carnival digi kit I then added this fabulous grungey green paper to my work space.

I usually start with my photo when creating a layout (not always ... its not a rule!) as I can get that the right size and then it leads to the rest of the layout build and as it's digital I can 'craft backwards' where as with real life crafting I would need layers down first iykwim!
I made the polaroid type frame just shy of 5'' x 4''. You can check the size with the numbers around the edge of your selected piece as you re size with the corner nodules and you can also fine tune via the transform tab on the right by altering the values in the W (width) and H (height) box.
Don't forget to shadow as you go! I like to use the pre installed shadows in the styles tab as it is quick and easy. I also tend to go for a bottom right shadow most of the time and quite a deep shadow (though don't have it too dark!)

I then added the negative black strip frame. Using the arrange tab on the bottom right I rotated it to a horizontal position and sent it behind the polaroid frame. It is about 10'' x 2''

By clicking add at the bottom of the photo tab I added the photos I wanted for my project from my files and then dragged and dropped them into the relevant frames. The negative strip splits the photo into sections and my photo was a panoramic shot so it came in to the work space mahoosive!! Simply remedied though by clicking on the 'select cropped item' button on the bottom right corner of the frame which activated the photo and allowed me to resize it into the frame.

To lift the polaroid photo and to connect the two photos together I wanted a bright layer so I added the yellow and pink striped material to my grey space (I use this like a craft desk) Then went to tools on the top bar and from the drop down menu selected convert to picture (while the material is selected!)

A pop up box appears and to be honest I just click ok as I don't understand the numbers :)

This means my material now became a photo and allowed me to add a frame on top of it by dragging and dropping it into place. I then resized the frame to 8'' wide and dragged it down slightly to make the height about 4.5''

I positioned the stripey layer behind the polaroid and over the negative using the arrange tab. It creates a focal point for the main photo but also pulls the negative strip into the design by touching it. Remember the shadow!

Next to add was the embellishments. I won't do a screen shot for everyone as that would get rather boring :) They simply drag and drop into place, resize them as you go and sizing is now easier using the size of the photos as a reference. Arrange things backwards and forwards to create layers and remember to shadow as you go. I will just point out the ribbon I added behind the negative strip and the diamond border, although not a lot of either is seen it pulls the eye across the page and also grounds the negative strip on the layout.

I added the bunting but wanted it quite large ... it looks a bit dominant right? But ....

.... by then adding the Ferris wheel behind it, it links the elements together as well as grounding the bunting on the layout.

I added my place and date using the alphabet in the kit. Type the words you want in the white box at the bottom of the letters tab, click insert and click group at the bottom right of the words straight away so they can be resized and positioned together. Add shadow!

I added an extra embellishment from the kit under the letters again to ground them and then wanted to balance it on the right with a barcode I knew was in one of the other Sahlin studio kits so I clicked add at the bottom of the embellishment tab ...

... which launched my digi kit browser and instead of trawling through all my kits I used the search box on the right then clicked the embellishment so it had a green tick so it sent it into my workspace.

I added the barcode and then added the fab handwritten words from the Vintage carnival embellishments however I didn't want the arrows so while the embellishment was selected I clicked on the eraser tool on the tool bar ....

.... and erased away the arrow! I then positioned the writing on the frame of the polaroid so it looks like I have written on it ....

.... and added my title to the actual photograph .... and that's it a finished layout with lots of layers and gorgeous 'stuff' from the kit.
A busy page isn't complicated, its all about arranging your layers, connecting all the elements and getting the size of each piece right.
I hope you enjoyed my page tutorial and I hope it inspires you to create something in your own way. Thanks for popping by and I'll be back soon with another tutorial, until then, as ever
Happy Crafting!
Love
MJM x
No comments:
Post a Comment